Homemade almond milk is all natural and offers huge flexibility in customizing flavors as well as removing unhealthy ingredients. Most store-bought almond milk brands contain 140-170 mg of sodium per serving, which can add up to a lot if you drink the beverage often. So if you are watching sodium in your diet, homemade almond milk is a better alternative over the commercial version.

Just keep in mind that most commercial brands offer almond milk fortified with calcium carbonate, which provides a significant dose of calcium per serving. Homemade almond milk contains only a fraction of the calcium found in commercial almond milk.
Almond milk has become my everyday choice for morning cereal, hot beverages, and anytime smoothies. Whether you want to cream veggies, thicken soups and curries or use in baked goods and pancakes or make smoothies and hot chocolate-- almond milk is a versatile, healthier, low-calorie vegan alternative to full-fat milk and cream. In the U.S., commercial almond milk is widely available, but I find it too watery with very little almond content. However, I still buy the unsweetened variety when I am short on time to make it at home.

At the most basic level you need only two ingredients--raw almonds and filtered water. At the second level you can add a bit of sweet and salty taste as the basic almond milk flavor is flat. At the third level, you can add flavors that show up strongly in the milk--cinnamon, vanilla, chocolate, coffee, dry or fresh shredded coconut--sky is the limit. Well, almost! Whether to or not to add flavors in almond milk will depend on how you plan to use it.
Now the process. It is absolutely important to make sure that almonds are not rancid. Rancid nuts are toxic (more on this later) and have only one place in your kitchen--compost bin. It takes only ten minutes to make almond milk, but there is an essential "plan-ahead" step of soaking the almonds 12-24 hours before your plan to make the milk. This is a big time range, but longer-soaked almonds result in creamier milk and are easier on your blender blade. Before blending almonds with water, throw away the phytate-infused (more on this later) soak water and rinse almonds a couple of times under running water.
The next step is to decide how much water you would like to add. A higher almond to water ratio will result in creamier but high calorie milk and vice versa. I normally use five cups of water for one cup of almonds for everyday use and four cups of water to one cup of almonds for a creamier version. You can also blanch and peel the soaked almonds prior to blending with water. This step ensures creamier milk without decreasing the almond-to-water ratio. I personally don't go through the process of blanching every time; I decided at some point that a bit of extra creaminess was not worth the extra effort. But that's just me!
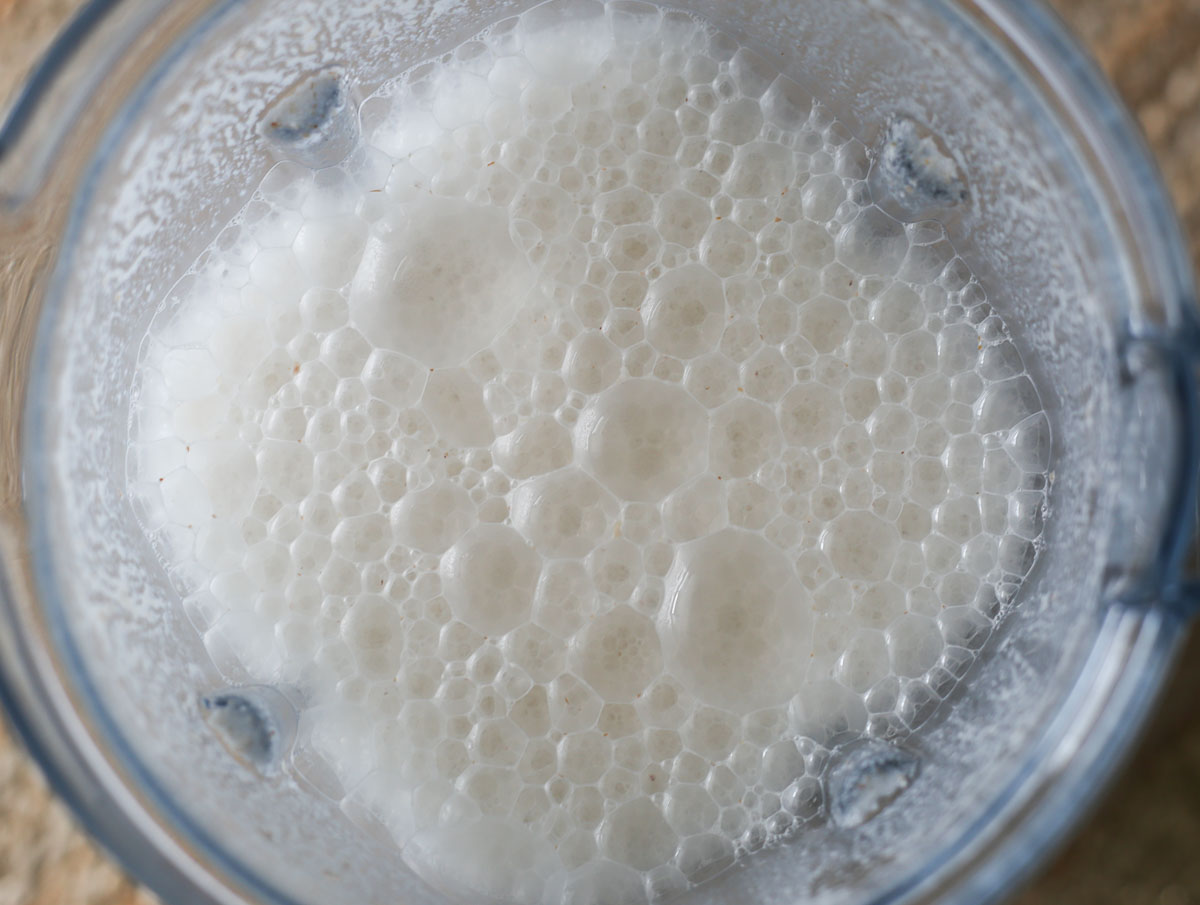
Add almonds and water to blender. Add sweet and salty ingredients (if using). For the everyday version, I add 1-2 medjool date/s and a pinch of salt. For the creamier version, I only add a pinch of salt and customize it later depending on the end recipe.
Blend almonds, filtered water, dates (optional), salt (optional) and flavoring ingredients (optional) at the highest speed setting for around 90-120 seconds. Time to blend would vary as every blender is different, but you want to make sure that the milk is smooth and does not have any floating particles.
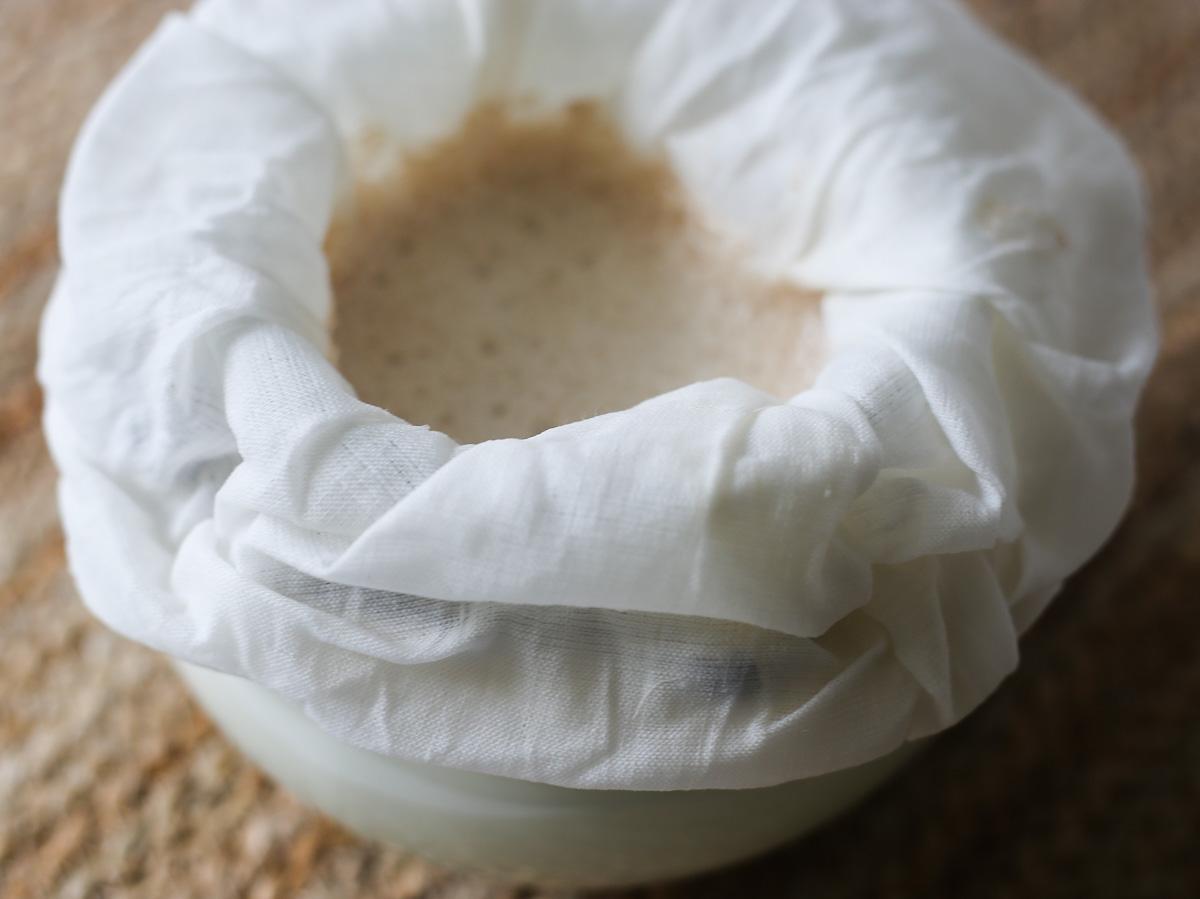
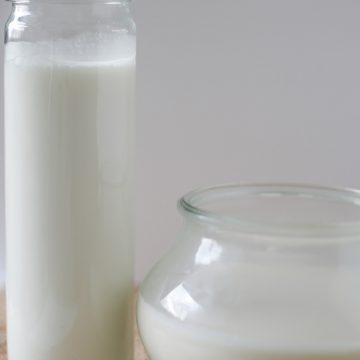
Strain milk through a nut milk bag. A fine-cotton kitchen towel or cloth (purchased at your local fabric store) would work just fine. How do I know this? I have seen my mom using these two tricks to make paneer (homemade cheese) and it works totally fine. Cheese cloth, however, is not my favorite. I find it too gauzy. If you would like to use cheese cloth, try it over a fine mesh sieve. The milk is now ready. Store it in refrigerator and use it within 3-4 days. Remember homemade almond milk does not have any emulsifiers; therefore, heavier particles tend to settle down. No worries, just shake the milk container a couple of times before using.

Wait, wait...please don't throw away the good stuff left over after straining. No, you are not going to compost it either. This leftover pulp is nutritious almond meal and you can use it in your morning oatmeal, thicken sauces, curries, and soups, and add to muffin and cookie batters. Just remember that shelf life for this almond meal is 3-5 days when stored in refrigerator. Enjoy!
Quick Homemade Creamy Almond Milk
Ingredients
- 1 cup raw almonds preferably organic
- 4 cups water, filtered
- 1 pinch Himalayan pink sea salt or any other kind, optional
- 2 Medjool dates or any other kind, optional
Instructions
- Soak raw almonds for 12-24 hours*. Before making almond milk, throw away the soak water and rinse almonds under running water.
- Add soaked almonds, filtered water, sea salt, and medjool dates to blender. Add any other flavoring** (if using).
- Blend on high speed for 90-120 seconds. The time will depend on individual blender. Check to make sure that the milk is smooth and has no floating particles.
- Strain in a jar or bottle covered with a nut milk bag****. Enjoy!









Thanks Garima for this wonderful idea and recipe.Ithink almond milk can be a great substitute for pasteurised milk as well and of course for kids allergic to animal milk can get great nutrition through it will surely try this
Geeta, thank you for your awesome feedback! Please share your experience if you try the recipe.